Crown Street, Wollongong, 2500

How to Add a Schema Markup to Your Blog Post
Melody Jaimon • April 14, 2021
As search engines get a better idea of what your site’s content is about, it enables them to return more informative results for website users.
As of writing, schema markup is one of the most underutilised techniques in SEO. This is such a huge waste of potential as schema markups have been found to help generate more clickthrough rates and boost website rankings.
As a continuation to our previous blog post on how to add schema markups to websites, we will share with you how to add a local schema markup to your blog post.
Schema markup is code that allows you to help search engines better understand what’s in your website.
Here’s a quick step-by-step guide on how to add a local schema markup to your blog posts.
How to Add a Local Schema Markup to Blog Posts
In this guide, we’ll be using the schema markup generator tool that we used before.
Again, there are several tools out there, each with their own set of upsides and drawbacks, but we like to use Merkle’s Technical SEO Schema Generator due to its straightforward user experience.
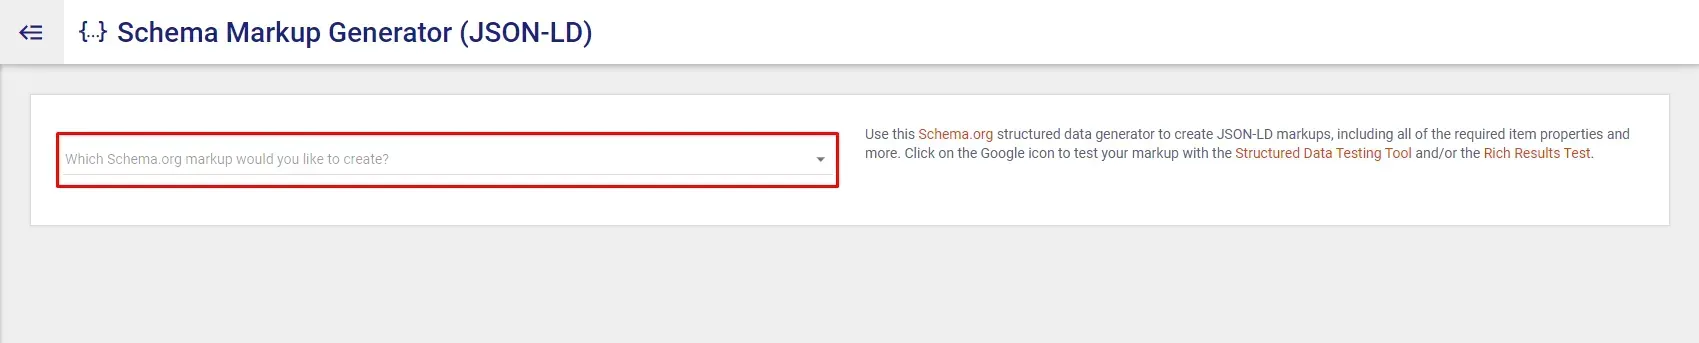
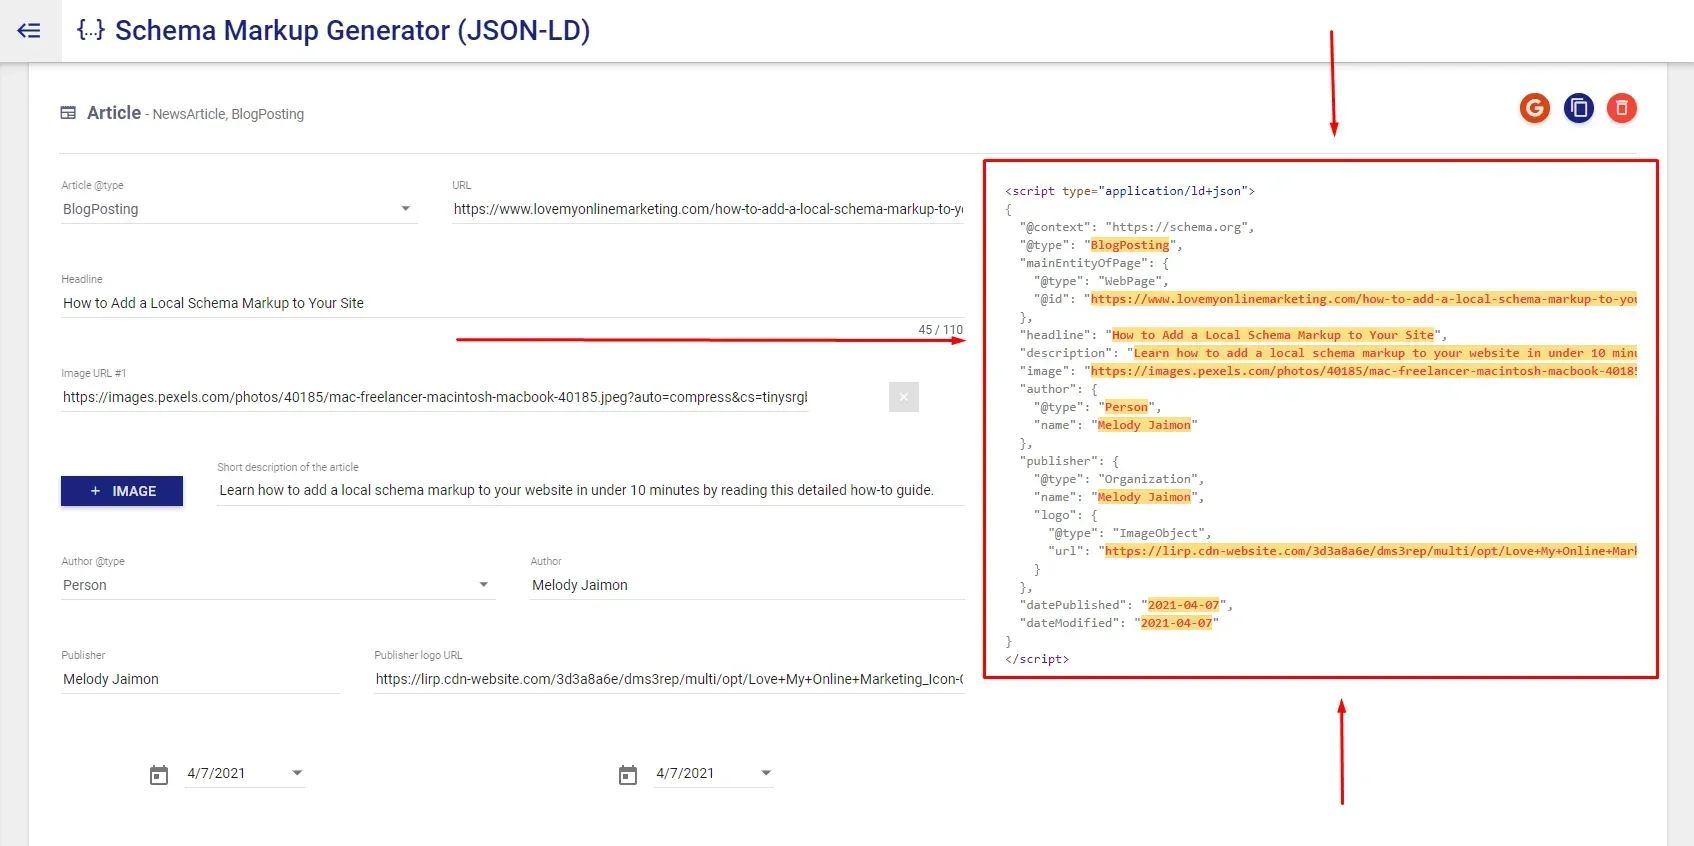
1. Open the tool, and you will see a drop-down list.
2. Click the drop-down list and select the first item: ‘Article – NewsArticle, BlogPosting’.
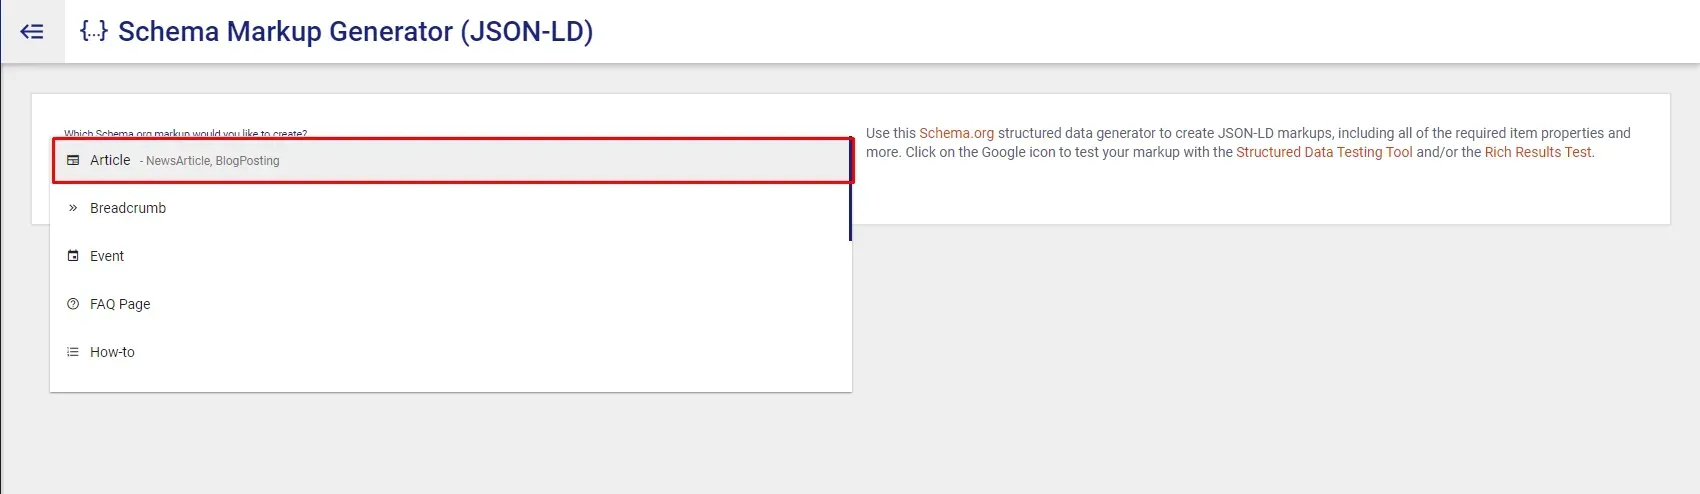
Once you’ve selected the ‘Article’ data type, a form will appear below.
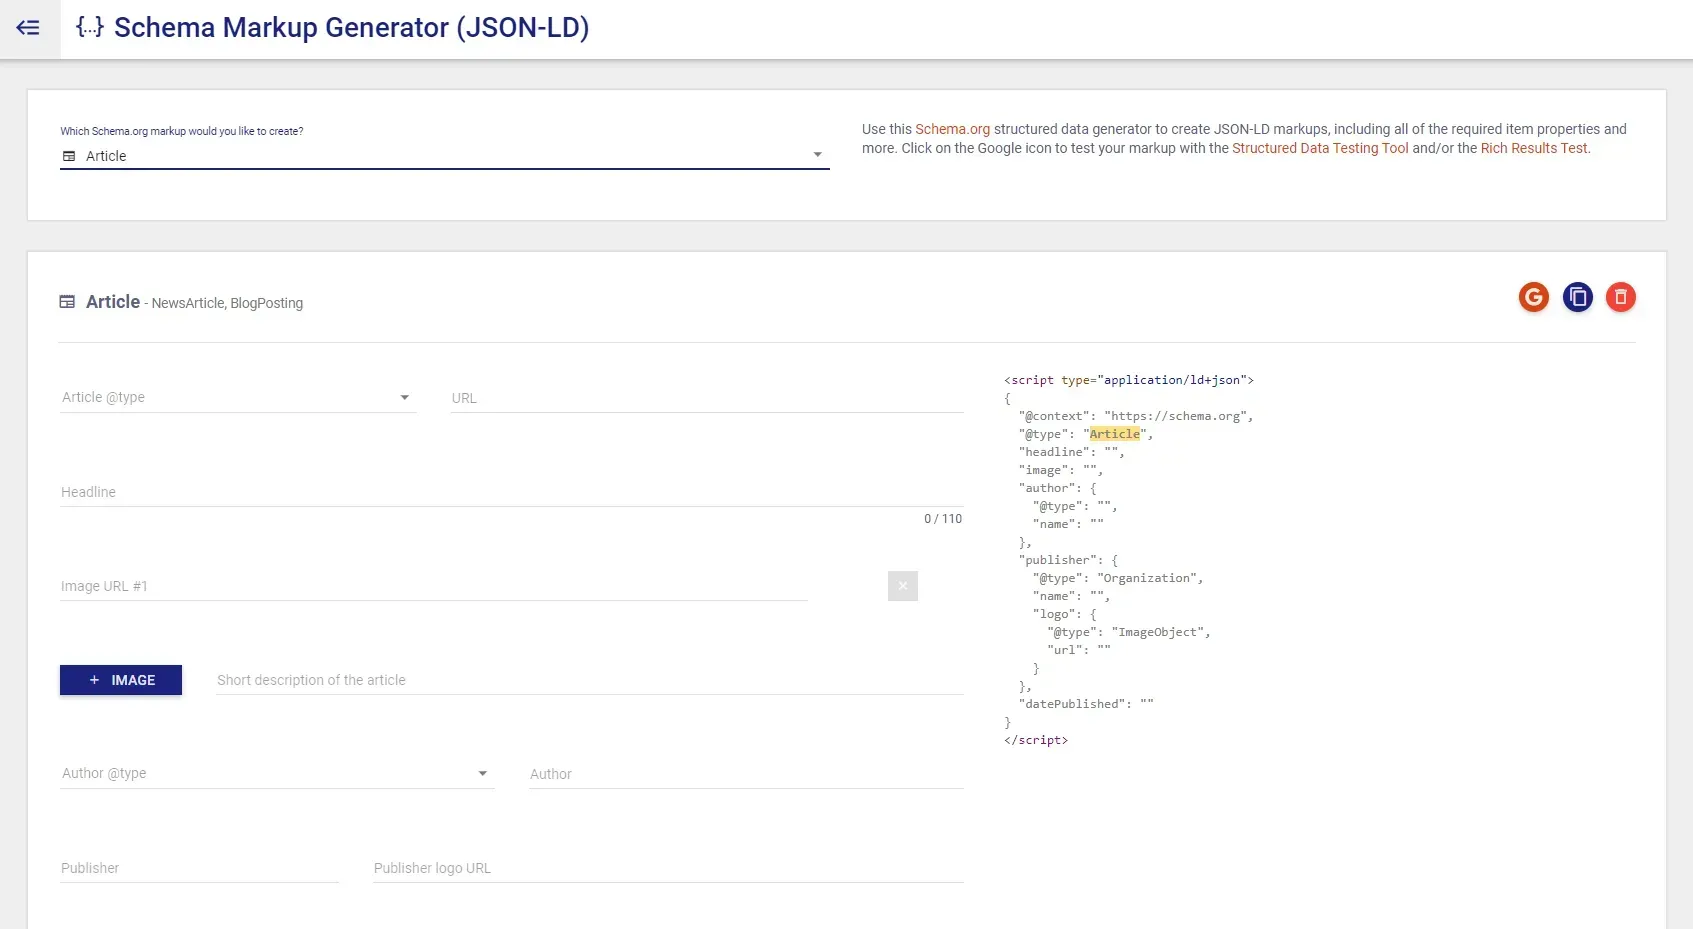
3. In the first drop-down list, there are three items. Select ‘BlogPosting’. This is the data type we’ll use because we’re making a schema markup for a blog post.

4. Fill out the rest of the form with the correct information, starting with the URL of the blog post through to the logo of the publisher. For optimal results, make sure to add info to every possible item.
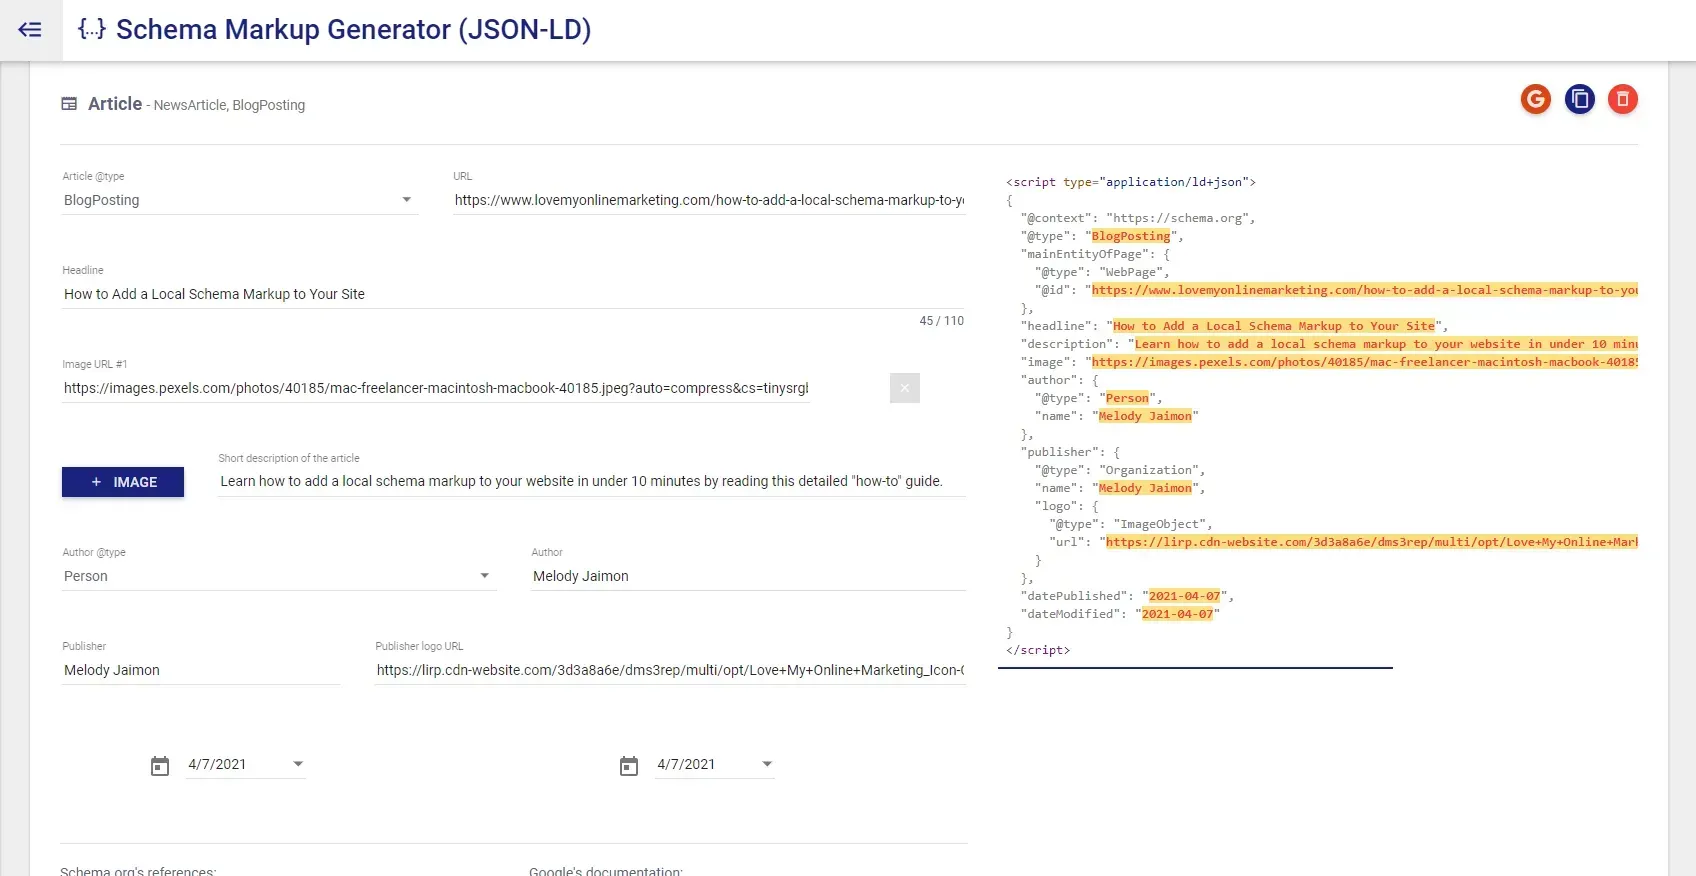
Now that every bit of information has been added, it’s time to test the code to see if it works.
5. Copy the JSON-LD code on the right-hand side of the tool.
6. We will use this tool for testing. Open the tool and paste the code.
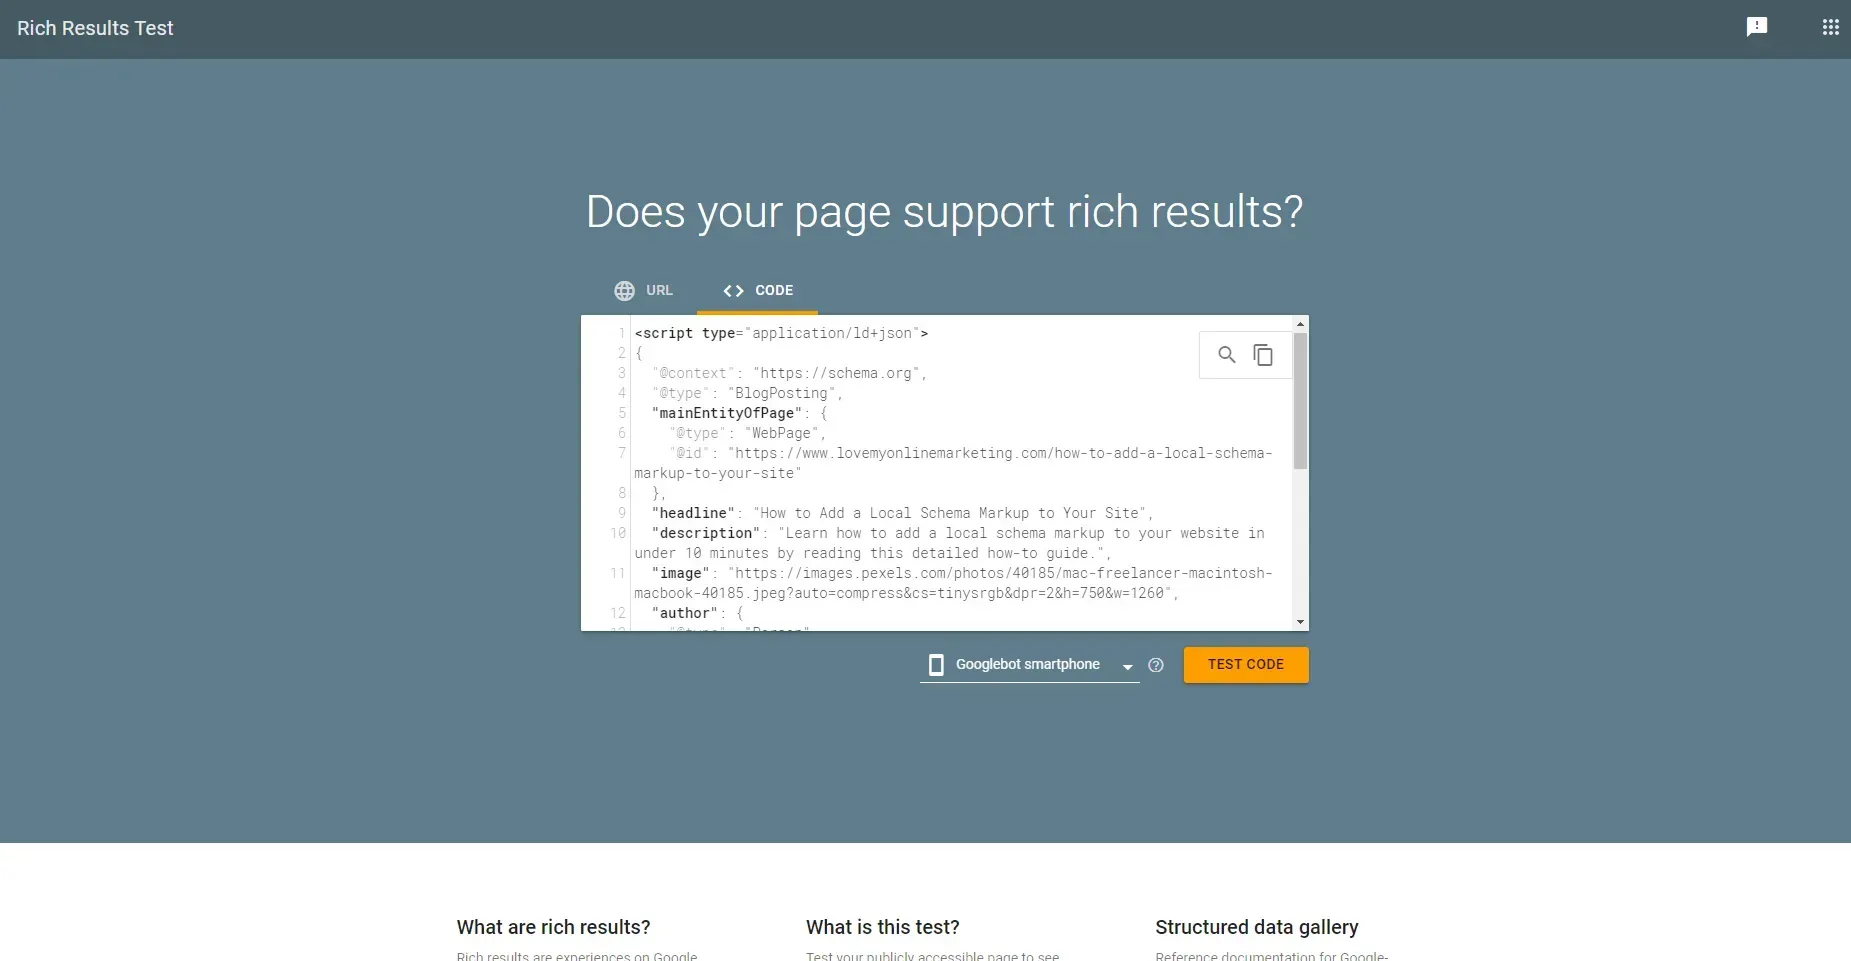
7. Once the code has been pasted, press the ‘Test Code’ button.
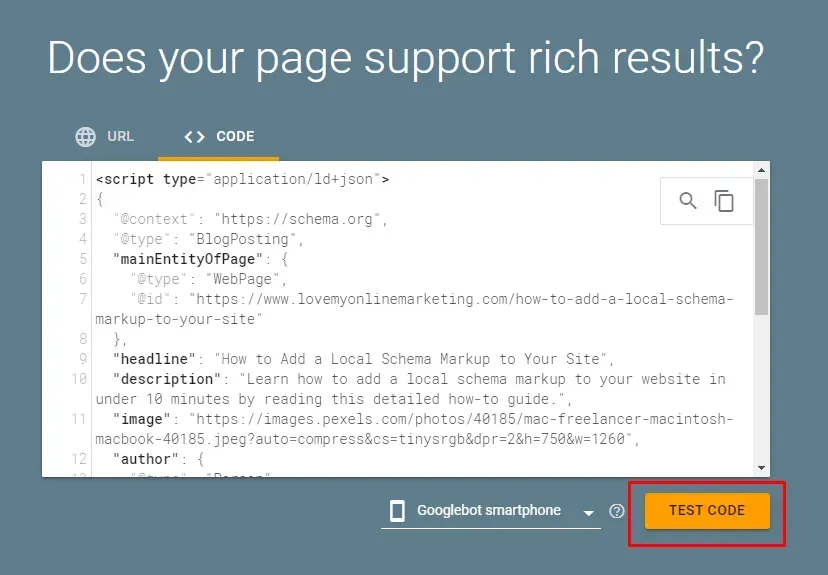
After hitting ‘Test Code’, you will see if the code works or not. In our case, the schema markup worked and the blog post will be eligible for rich results when the code is added to it.

Once you’ve confirmed that the schema markup works accordingly, it’s time to implement it.
8. There are several ways to implement a schema markup on your blog post, but the easiest way to do it is by using a tool. If the CMS you are using has a plugin for adding schema markups to blog posts, you should use it to make this process easier. But it doesn’t have any tool available for this sort of task, you need to manually add the schema markup in the header or footer HTML section of your blog post and then republish it.
Make the Most of Local Schema Markups
Hopefully this guide taught you what you needed to know about adding a local schema markup to the blog posts on your website. Make the most of this vastly underutilised SEO technique today if you want to increase your clickthrough rates and boost your rankings on search engines. You can either implement the schema markups yourself or hire our expert team of SEO professionals to do it for you.


Love My Online Marketing has 10+ Years of working alongside businesses and helping them grow. Discuss your options for online success from website Design and Development through to Google Marketing.
Do you want more traffic and business leads?
Love My Online Marketing is determined to make a business grow. Our only question is, will it be yours?