Crown Street, Wollongong, 2500

Add and Edit Flex Sections (1.0)
Melody Jaimon • December 5, 2022
To include a Flex section, follow these steps:
- Hover between the rows and choose the Add Section option. Sections are shown in the side panel. Alternatively, right-click to open the context menu, then choose Add Section.
- Click Flex Sections in the side panel.
- Click the Flex section you wish to add, then click Save at the top of the page.
- The portion to be edited is shown in Flex Mode.
Add Containers and Flexboxes
You can establish your grid and add containers and flexboxes to include widgets in the section after you've added a Flex section to your site.
In the Design panel, select a preset layout in the
Rearrange Layout section, or alternatively, specify the number of
columns,
rows, and the
gap you want between each in the
Customize Layout section to establish your grid in the section.
To add containers or flexboxes to the grid, do the following:
- Click the + add (Grid +) button after pointing to the grid.
- Click Container, Vertical Flexbox, or Horizontal Flexbox in the Flex Items section. See Containers and Flexboxes (1.0) for further information on selecting a container or flexbox.
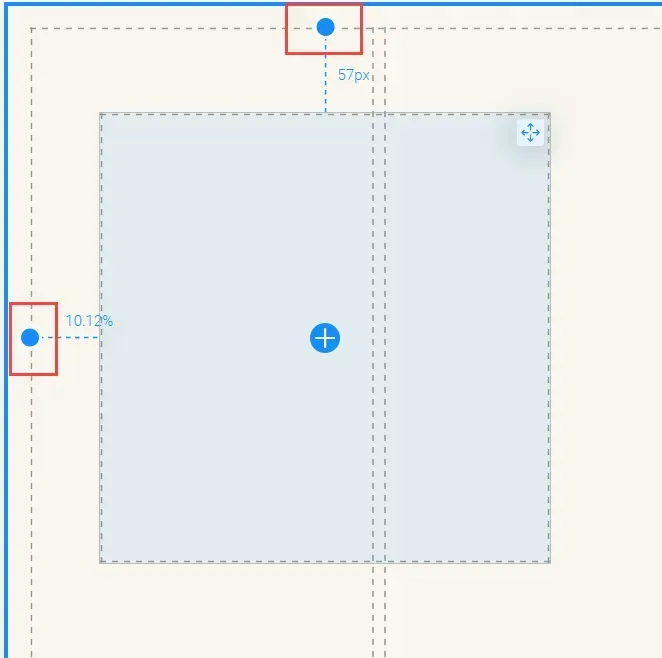
- Drag the container or flexbox to the desired location in the grid. Blue dots show when you move the container or flexbox, allowing you to pin the container or flexbox to certain sections of the grid. In the Design panel, next to Pin in the Position section, you can see where the element is pinned.
4. Drag the edges of the container or flexbox to resize it.
The location of the container or flexbox can be found in the Design panel, next to
Grid location, in the Position section.
Add and Edit Widgets
After a Flex section has been added to a site, the grid has been set, and a container or flexbox has been added, widgets can be added to the container or flexbox.
If you are in the classic editor, you can enter flex mode by dragging a widget from the left panel and dropping it into a grid.
Column widgets cannot be added to a grid via the classic editor at this time.
To include widgets:
- Click the + button after pointing to the container or flexbox.
- Search for and select the widget to be added.
- Drag and resize the widget in the container to the desired location.
- Blue dots emerge when you move the widget, allowing you to pin it to certain areas of the container. In the Design panel, next to Pin in the Position section, you can see where the element is pinned.
- Elements inside a flexbox are automatically put in a vertical or horizontal list.
- When you add a widget, the Content Editor displays, allowing you to configure the widget.
- In the Design panel, you can modify the design of the widget.
Select Elements
There are several methods for selecting an element:
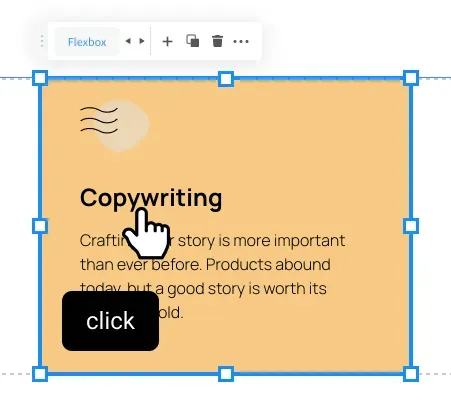
- Hover over the element and click. The first click chooses the element's parent layer, the second click selects the nested layer, the third click selects the next nested layer, and so on.
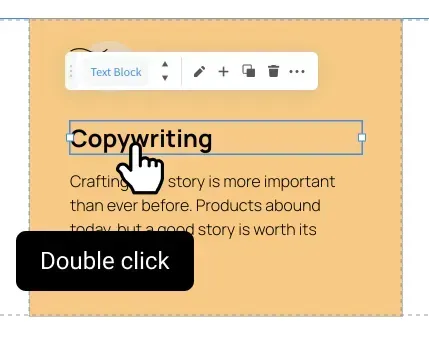
- Hover over the element and double-click. This will select the element you are hovering on, regardless of how nested it is.
- Hover over the element and click Command/Control + Select. This will select the element you are hovering on, regardless of how nested it is.
Copy and Paste Flex Elements and Widgets
While in flex mode, you can copy and paste flex elements (grids, containers, and flexboxes) and widgets. For example, a grid from one page can be copied and pasted into a flex section on another page. Widgets from the regular editor can also be copied and pasted into flex sections. The copy and paste functionality save you time by enabling you to swiftly recreate complex designs and construct sites quicker.
In flex mode, right-click the element or widget and choose
Copy or
Paste from the menu. You can also access Copy and Paste for widgets by choosing the widget and clicking
More (...).
To copy a widget from the regular editor and paste it into a Flex section, open the Content and Design menu by clicking the widget in the regular editor. Select
Copy from the menu by clicking the settings icon. Navigate to the desired flex section, then right-click and choose
Paste from the menu.
You can also copy and paste using the keyboard keys
command/ctrl + C and
command/ctrl + V.
Reorder Elements
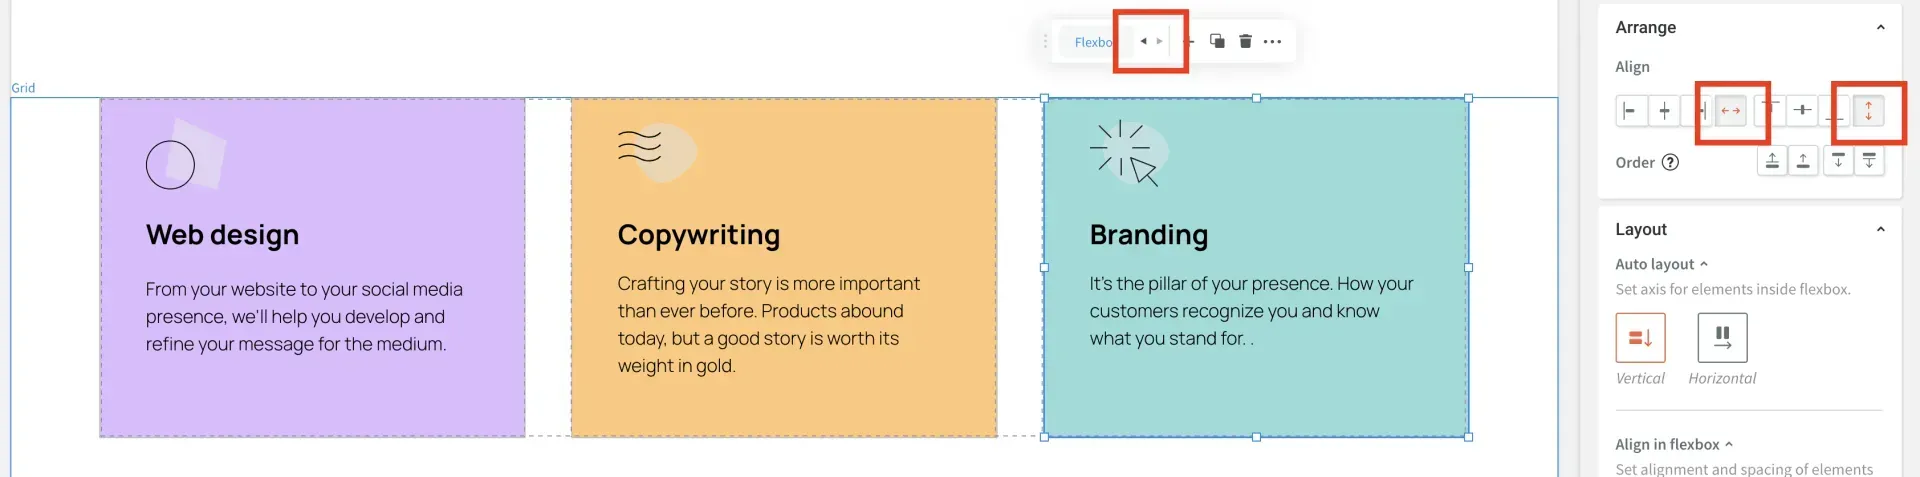
To move nested elements in flexboxes, sections, and grids, utilise arrows. The arrows are accessible through the floating bar or by right-clicking to reveal the context menu. Using the arrows to reorder elements smooths out modifications and prevents unexpected nesting of components.
Elements can be moved in the directions shown below:
- Elements nested in flexboxes. Elements in horizontal flexboxes can be shifted from left to right. Elements in vertical flexboxes may be moved up and down.
- Grids nested in a section. Can be moved up and down.
- Elements nested in grids or containers. Can be moved in any direction as long as two elements are next to each other and extended throughout the whole cell.


Love My Online Marketing has 10+ Years of working alongside businesses and helping them grow. Discuss your options for online success from website Design and Development through to Google Marketing.
Do you want more traffic and business leads?
Love My Online Marketing is determined to make a business grow. Our only question is, will it be yours?